8 Pro Midjourney Camera Prompts to Master in 2026
Author
Promptaa
Date Published
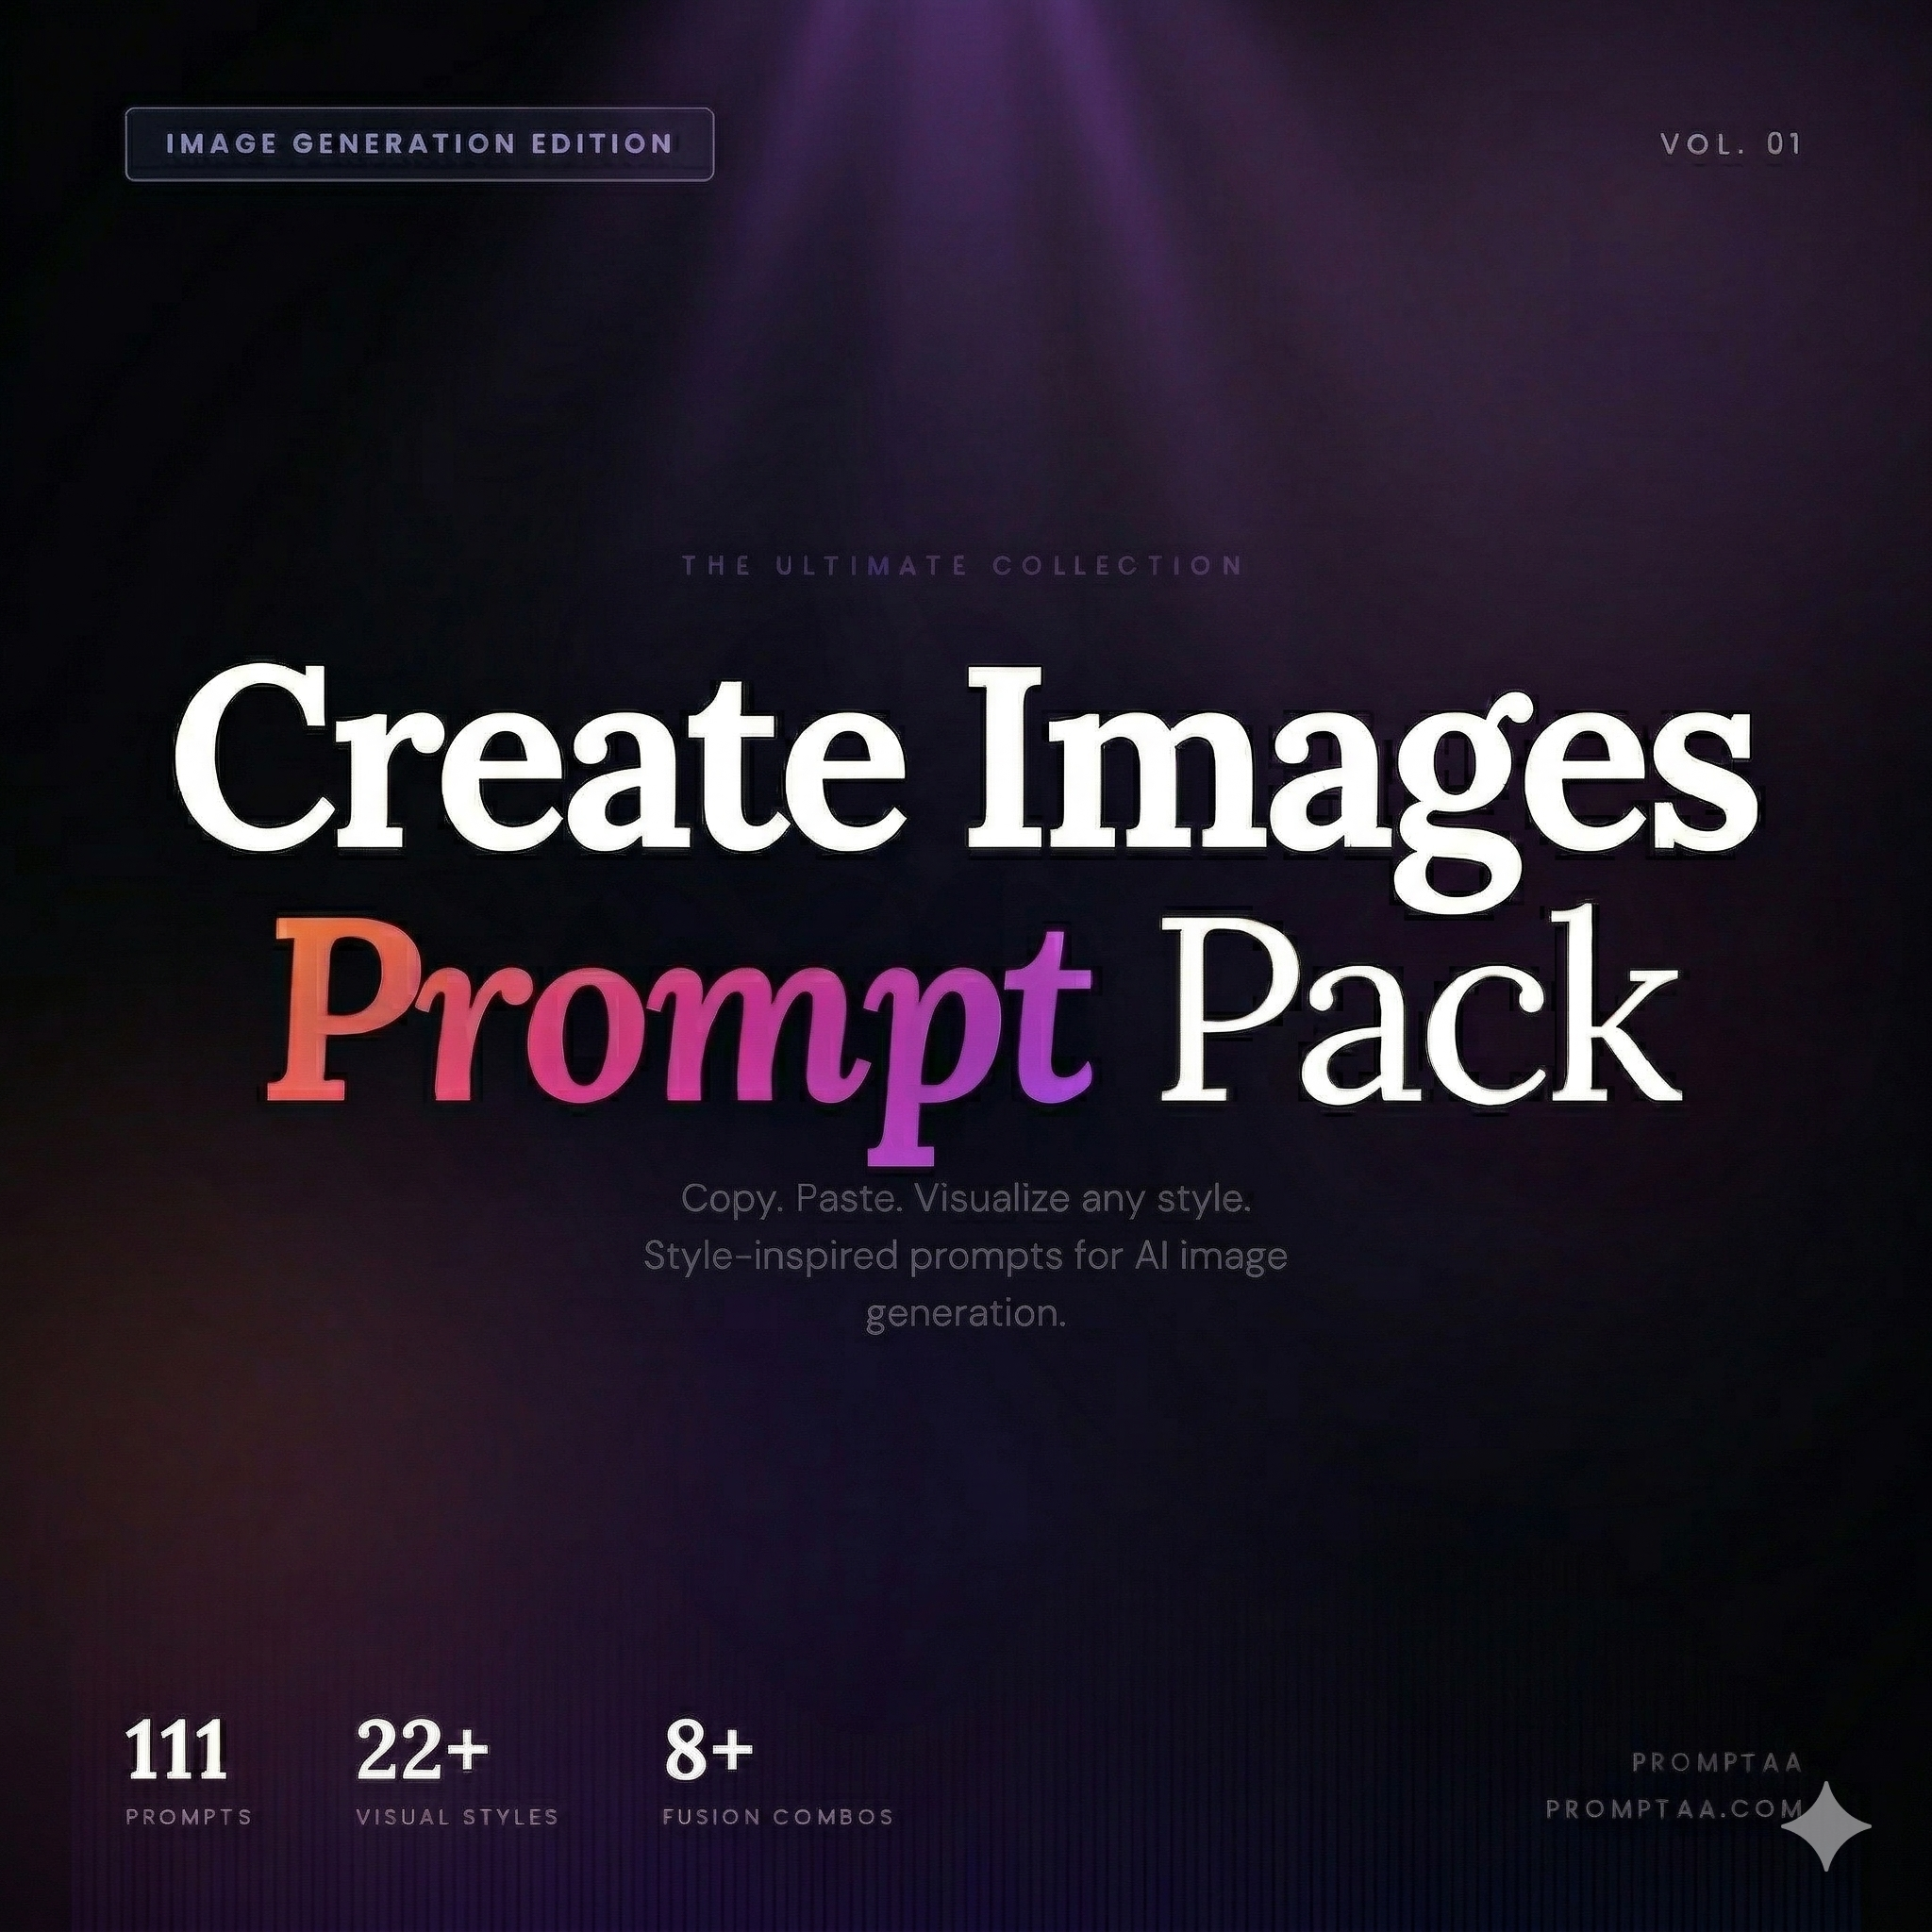
Creative Images Prompt Pack Vol. 1
Create images like Ghibli Studios, Film Noir, Fantasy Concept Art & 22+ more styles. 111+ ready-to-paste prompts for any AI image generator like Midjourney or Gemini.
Welcome to the ultimate guide for mastering visual storytelling in Midjourney. Forget generic images; we're diving deep into the language of cinematography and photography to give you precise control over your AI creations. This listicle breaks down eight professional Midjourney camera prompts, moving beyond simple descriptions to explore the strategic impact of lens choice, camera angles, focal lengths, and lighting.
Each example is a mini-masterclass. You will find a detailed prompt breakdown, strategic analysis of its use case, and actionable takeaways you can implement immediately. We'll show you how to specify everything from a 35mm prime lens for intimate portraits to a telephoto lens for dramatic compression, transforming you from a casual user into a virtual director.
This guide is designed to be highly practical, providing you with the exact syntax and conceptual understanding needed to generate consistently stunning, high-quality images. While Midjourney is a powerful tool, it's just one piece of the puzzle. To broaden your understanding of the tools available for generating visuals, you can explore the Top 5 AI Image Models to see how different platforms interpret similar creative commands.
By learning these specific prompts, you'll gain the vocabulary to tell the AI exactly what you want, from a low-angle shot that conveys power to an overhead flat-lay for clean, organized compositions. This is your toolkit for unlocking a new level of artistic direction and producing visuals that truly stand out. Let's get started.
1. Wide-Angle Landscape Shot with Rule of Thirds
A wide-angle landscape shot combined with the rule of thirds is a foundational technique for creating expansive, balanced, and visually compelling images in Midjourney. This method uses a virtual wide-angle lens (specified with focal lengths like 14mm, 24mm, or 35mm) to capture a broad field of view. The composition is then structured by the rule of thirds, an artistic principle that divides an image into a 3x3 grid, placing key elements along the lines or at their intersections for a more natural and dynamic feel.
This combination is a staple in landscape and architectural photography, popularized by icons like Ansel Adams and seen throughout National Geographic. It directs the viewer's eye through the scene, creating a sense of depth and scale that a centered subject often lacks. Using this as one of your core Midjourney camera prompts gives you immediate control over professional-level composition.
Why It Works So Well in Midjourney
Midjourney understands compositional terms explicitly. By including "rule of thirds" in your prompt, you are giving the AI a direct instruction to avoid simple, centered compositions. This instantly makes your images feel more deliberate and artistic.
Key Insight: Combining a specific lens type (wide-angle lens, 24mm) with a compositional rule (rule of thirds) gives Midjourney a clear, two-part command. The lens sets the scene's scale, while the rule dictates how to arrange elements within that scene for maximum impact.
How to Implement This Prompt
Follow these steps for a successful wide-angle, rule of thirds generation:
Specify the Lens: Start with wide-angle shot or a specific focal length like shot on a 24mm lens. This tells Midjourney to create a sense of vastness.
State the Composition Rule: Add , rule of thirds composition. This is the crucial instruction for placing elements off-center.
Define the Scene: Describe the subject and setting. Be sure to mention foreground, middle ground, and background elements to create depth. For instance, , with a lone pine tree in the foreground and towering mountains in the background.
Refine the Style: Add stylistic tokens like National Geographic photography, cinematic lighting, or serene atmosphere to control the mood.
For those looking to create photorealistic outputs with this technique, understanding how different camera settings influence the final image is key. You can explore a deeper collection of Midjourney prompts for realistic photos to learn how to layer in details like ISO, shutter speed, and aperture. This approach is perfect for generating travel blog imagery, desktop wallpapers, or environmental concept art that feels both grand and thoughtfully composed.
2. Cinematic 35mm Prime Lens Close-Up Portrait
A cinematic 35mm prime lens close-up is a powerful technique for creating professional, intimate portraits in Midjourney. This approach simulates a 35mm fixed focal length lens, which offers a natural, flattering perspective of the human face with minimal distortion. It’s often paired with a shallow depth of field to produce a soft, blurry background (or "creamy bokeh"), making the subject stand out sharply.
This style is a favorite in editorial and commercial photography, frequently used by photographers like Annie Leibovitz and seen on the covers of magazines like Vogue and Harper's Bazaar. It captures enough of the environment to provide context but keeps the focus squarely on the person. By using these types of Midjourney camera prompts, you can generate portraits that feel both authentic and high-end, perfect for professional headshots or brand content.
Why It Works So Well in Midjourney
Midjourney excels at interpreting specific photographic terminology. When you specify shot on a 35mm lens and add terms like shallow depth of field or creamy bokeh, you give the AI a clear recipe for a classic portrait. The AI understands that this combination means a sharp subject and a beautifully blurred background, instantly adding a layer of professional quality to the image.
Key Insight: The 35mm focal length is a sweet spot. It’s wide enough to include some background context but not so wide that it distorts facial features. Combining this with close-up shot and bokeh tells Midjourney to create an intimate portrait that feels like it was taken by a skilled photographer.
How to Implement This Prompt
Follow these steps to generate a striking 35mm portrait:
Specify the Lens and Shot: Start with close-up portrait, shot on a 35mm prime lens. This establishes the core composition and feel.
Define the Background Effect: Add , creamy bokeh or , shallow depth of field, soft background blur to ensure the subject pops.
Describe the Subject and Mood: Be specific. Use phrases like , a pensive woman with freckles looking away from the camera or , a confident businessman smiling gently.
Control the Lighting: Lighting is critical for portraits. Add terms like lit by soft window light, golden hour glow, or dramatic studio lighting to set the mood.
This technique is excellent for creating everything from LinkedIn headshots to character concepts. To further refine your portraits, you can experiment with different moods and visual treatments by exploring a variety of Midjourney art styles and prompts. This will help you pair the perfect aesthetic with your technically sound camera setup.
3. Low-Angle Telephoto Compression Shot
A low-angle telephoto compression shot is a powerful technique for creating dramatic, imposing images in Midjourney. This method combines a low shooting angle (looking up at the subject) with the unique spatial effect of a telephoto lens (like 70mm, 135mm, or 200mm). The telephoto lens compresses the distance between the subject and the background, making the background appear larger and closer than it is. When paired with a low angle, this makes the foreground subject look dominant and heroic.
This combination is a cornerstone of modern advertising, action cinematography, and character-focused art. It’s the visual language used to make a new car feel powerful, a superhero look invincible, or a skyscraper touch the heavens. Implementing this as one of your Midjourney camera prompts gives you a tool to instantly create images with a strong, commanding presence.
Why It Works So Well in Midjourney
Midjourney has a strong grasp of both camera angles and lens characteristics. When you specify "low-angle shot" and "telephoto lens," you give the AI two clear, synergistic instructions. The angle dictates the viewer's perspective, creating a sense of awe or intimidation, while the lens compresses the background, isolating the subject and adding a layer of professional polish often seen in high-budget productions.
Key Insight: The magic here is the combination of perspective and optics. "Low-angle" makes the subject feel powerful, while "telephoto compression" pulls the background in, creating a dense, dynamic frame that eliminates distracting empty space and adds to the subject's grandeur.
How to Implement This Prompt
Follow these steps for a successful low-angle, telephoto compression generation:
Specify the Lens and Angle: Start with low-angle shot, shot on a 135mm telephoto lens. This combination is the core of the effect.
Define the Subject and Its Action: Clearly state your subject, like a futuristic sports car or a queen in armor. Give it a pose or action that matches the mood, such as speeding down a city street at night or standing on a cliff edge.
Describe the Background: Crucially, describe what you want compressed behind the subject. For instance, , with a compressed background of towering neon skyscrapers or , with a huge full moon filling the sky behind her.
Add Stylistic and Emotional Keywords: Refine the image with words like dramatic, imposing, cinematic lighting, epic scale, and commanding presence to guide the AI toward the intended feeling.
This technique is ideal for creating impactful hero images for websites, dynamic character portraits, or high-end product mockups. It moves beyond simple snapshots, producing visuals that tell a story of power, drama, and importance in a single frame.
4. Overhead Flat-Lay Composition with Macro Lens
An overhead flat-lay composition, captured with a macro lens, is a powerful technique for creating highly organized, detail-rich images in Midjourney. This style involves positioning the virtual camera directly above the subject matter at a 90-degree angle, known as a "top-down" or "bird's-eye view." Combining this perspective with a macro lens (like a 50mm or 100mm) instructs the AI to focus on intricate textures and small details, turning everyday objects into a structured and artistic arrangement.
This aesthetic is a cornerstone of modern digital content, heavily popularized by Instagram food bloggers, lifestyle influencers, and brands showcasing products. Think of a perfectly styled brunch, a minimalist desk setup, or the contents of a travel bag laid out neatly. Using this as one of your Midjourney camera prompts allows you to generate clean, professional-grade imagery perfect for social media, blogs, and product mockups.
Why It Works So Well in Midjourney
Midjourney excels at interpreting spatial and organizational commands. When you specify flat lay or overhead view, you give the AI a clear geometric framework. Adding macro lens then directs its attention to the fine details within that framework, such as the texture of a wooden table, the fibers of a notebook page, or the tiny bubbles in a cup of coffee. This dual instruction results in images that are both well-composed and visually satisfying on a micro level.
Key Insight: The "flat lay" prompt sets the stage (the arrangement), while the "macro lens" prompt directs the focus (the details). This combination is perfect for creating content that feels both planned and intimately observable, a key trend in modern lifestyle photography.
How to Implement This Prompt
Follow these steps to create a perfect flat-lay generation:
Specify the Viewpoint: Start with overhead view, flat lay composition, or top-down shot. This establishes the 90-degree camera angle.
State the Lens: Add , macro lens or a specific focal length like shot on a 100mm macro lens to ensure sharp focus on details.
Define the Scene and Objects: Clearly list the items you want arranged. For example, , a coffee cup, an open journal, and a succulent on a white wooden desk.
Refine the Lighting and Arrangement: Add descriptors for mood and organization. Use terms like soft natural light, organized neatly, minimalist aesthetic, and with ample negative space to control the final look.
This technique is excellent for creating lifestyle content, food photography, or any visual that needs to communicate a sense of order and style. By mastering these specific Midjourney camera prompts, you can produce high-quality, on-trend images that look professionally styled and photographed without needing a physical studio.
5. Dutch Angle (Tilted Horizon) with Ultra-Wide Lens
A Dutch angle combined with an ultra-wide lens is a high-energy technique for injecting tension, movement, and psychological unease into your Midjourney creations. This method involves tilting the virtual camera, typically between 20 to 45 degrees, while using an ultra-wide lens (like 10mm or 16mm) to exaggerate the scene's scale. The skewed horizon disorients the viewer, making it a powerful tool for conveying chaos, drama, or intense action.
This cinematic trick is a signature of directors like Tim Burton and is frequently used in action sequences by filmmakers such as Michael Bay and Zack Snyder to heighten the impact of a moment. In music videos and video game cinematics, it signals a climactic beat or a dramatic reveal. By using this as one of your Midjourney camera prompts, you can create images that feel dynamic and narratively charged, moving beyond static compositions.
Why It Works So Well in Midjourney
Midjourney excels at interpreting stylistic and directional commands. A prompt specifying a "Dutch angle" tells the AI to deliberately break the standard rule of a level horizon. When paired with an "ultra-wide lens," the AI understands it needs to both distort the perspective and tilt the frame, resulting in images that feel both immense and unstable.
Key Insight: The Dutch angle works by creating psychological tension. Combining it with an ultra-wide lens amplifies this effect by warping the foreground and background, pulling the viewer directly into the disorienting scene. The tilt suggests instability, while the wide view enhances the drama.
How to Implement This Prompt
Follow these steps to generate a powerful Dutch angle image:
Specify the Angle: Start your prompt by defining the tilt, such as 30-degree Dutch angle shot or simply Dutch angle. Being specific about the degree gives you more control.
Define the Lens: Add , ultra-wide lens or a specific focal length like shot on a 16mm lens to create the expansive, distorted perspective.
Set the Scene: Describe a scene that justifies the dramatic angle. Use phrases like , a high-action moment, , a superhero landing, or , a tense standoff in a dark alley. Context is key to making the effect feel intentional.
Add Dynamic Elements: Include terms like motion blur, dramatic cinematic lighting, in the middle of an explosion, or intense expression to complete the high-energy feel.
This technique is perfect for generating concept art for action films, creating striking music-inspired visuals, or designing posters that demand attention. For those looking to master photorealistic outputs, layering in specific camera settings is crucial. You can find a complete list of Midjourney prompts for realistic photos to learn how to add details like ISO and shutter speed, giving your dynamic shots an extra layer of authenticity.
6. Shallow Depth of Field 50mm Standard Lens for Depth Layering
Using a 50mm lens with a shallow depth of field is a sophisticated technique for creating rich, dimensional images in Midjourney. This method replicates a standard 50mm lens (often called a "nifty fifty") with a wide aperture like f/1.4 or f/1.8 to isolate a subject sharply against a beautifully blurred background, a visual effect known as bokeh. This approach creates distinct layers of focus, guiding the viewer's eye exactly where you want it to go.
This combination is a cornerstone of portrait, fashion, and commercial photography, where the goal is to make a subject stand out. It's also frequently used in documentary filmmaking and interviews to draw attention to a person while softening the environment. Applying this technique is one of the most effective Midjourney camera prompts for achieving a professional, polished look that feels intentional and artistic.
Why It Works So Well in Midjourney
Midjourney is excellent at interpreting specific camera settings. When you provide an aperture value like f/1.4, the AI understands you want a very narrow plane of focus. Pairing this with a 50mm lens, which mimics the human eye's perspective, results in images that are both technically impressive and feel naturally cinematic.
Key Insight: Specifying both the focal length (50mm lens) and the aperture setting (shallow depth of field, f/1.4) gives Midjourney a clear directive. The lens sets a natural, distortion-free perspective, while the aperture command creates the focus separation that adds depth and professional polish.
How to Implement This Prompt
Follow these steps to generate images with striking depth and focus:
Specify the Lens and Aperture: Start with 50mm lens, shallow depth of field, f/1.4. This is the core technical instruction. You can also use terms like bokeh background or selective focus.
Define the Subject and Focus: Clearly state what should be sharp. For example, a detailed portrait of a woman, her eyes in sharp focus.
Describe the Background: Briefly describe the background elements that should be blurred, such as , with a blurred city street at night in the background.
Refine with Lighting and Style: Add mood-setting terms like cinematic lighting, golden hour, or brand photography style to complete the scene.
Mastering focus is crucial, but sometimes you also need to tell Midjourney what not to include. You can use negative prompts to remove unwanted elements, ensuring your subject remains the hero of the image. For more control, you can discover a complete guide to using the Midjourney negative prompt to refine your outputs even further. This method is ideal for creating compelling portraits, product shots, and any visual where the subject's clarity is paramount.
7. Extreme Close-Up with Macro Extension and Focus Stacking
This advanced prompt simulates an extreme close-up by combining a virtual macro lens with a technique known as focus stacking. In real photography, focus stacking involves taking multiple photos at different focus points and merging them to create a single image with a greater depth of field than any individual shot. For Midjourney, this prompt tells the AI to generate an image with microscopic detail and impossible sharpness across the entire subject, revealing textures and patterns invisible to the naked eye.
This method is perfect for scientific visualization, luxury product photography, and abstract art. It's used by nature photographers to capture every detail of an insect and by brands to showcase the intricate craftsmanship of a watch or piece of jewelry. Using this as one of your Midjourney camera prompts allows you to create images with a level of detail that feels both scientific and artistically breathtaking.
Why It Works So Well in Midjourney
Midjourney excels at rendering complex textures. When you specify a macro lens and mention "focus stacking," you are instructing the AI to prioritize detail and clarity above all else. It bypasses the natural, shallow depth of field typical of macro photography and instead delivers a fully-in-focus image that highlights every tiny feature, from the weave of a fabric to the crystal structure of a snowflake.
Key Insight: The term "focus stacking" is the critical component here. While a macro shot gets you close, adding , focus stacked image instructs Midjourney to render the entire magnified surface with uniform, hyper-realistic sharpness, creating a result that looks deliberate and technically masterful.
How to Implement This Prompt
Follow these steps to create a hyper-detailed macro image:
Specify the Technique: Start with extreme close-up macro shot or 1:1 macro photography. Mentioning the magnification ratio (like 2:1 magnification) can push the detail even further.
Add the Sharpness Command: Include , focus stacked or , focus stacking to ensure edge-to-edge clarity.
Describe the Subject and its Texture: Be incredibly specific. Instead of just "a leaf," try , the intricate vein structure of a decaying leaf. Use descriptive words like revealing the grain pattern, showing the subtle fabric weave, or exposing the crystalline structure.
Control the Lighting: Good macro shots depend on light. Add terms like , soft diffused macro lighting or , side lighting to emphasize texture to guide the final mood and appearance of the image.
This approach is invaluable for creating compelling visuals for product catalogs, educational materials, or abstract art prints. The ability to generate such high-fidelity textures on demand makes this one of the most powerful technical Midjourney camera prompts for creators who need to show, not just tell, the details.
8. Cinematic Wide Shot with Deep Focus (Panfocal Technique)
A cinematic wide shot using deep focus, also known as the panfocal technique, is a powerful narrative tool for creating immersive and detailed scenes in Midjourney. This method uses a virtual wide-angle lens with a small aperture (like f/11 or f/16) to keep the entire image, from the immediate foreground to the distant background, in sharp focus. It prioritizes storytelling by ensuring every element within the frame is clear and contributes to the overall context.
This technique is a cornerstone of classical cinematography, famously used by Orson Welles in Citizen Kane to give equal visual weight to characters and their environment. It allows the viewer's eye to wander and explore the scene, making it perfect for world-building, establishing shots, and creating dense visual narratives. Using this as one of your Midjourney camera prompts gives you direct control over this sophisticated cinematic style.
Why It Works So Well in Midjourney
Midjourney excels at interpreting layered instructions, and the deep focus technique is all about layers. When you prompt for "deep focus," you're telling the AI not just to render a scene, but to ensure that both the foreground and background are rendered with high fidelity and clarity. This prevents the AI from defaulting to a shallow depth of field, which often blurs out important environmental details.
Key Insight: Combine specific focus terms (deep focus, panfocal) with instructions about scene content (foreground leading elements, background context layers). This tells Midjourney not only how to focus the camera but also what to place within its expansive, fully-focused view.
How to Implement This Prompt
Follow these steps to create a compelling deep focus cinematic shot:
State the Technique: Begin with cinematic wide shot, deep focus or panfocal shot. You can also use explicit phrases like , everything in focus from foreground to background.
Define the Lens/View: While not always necessary, adding wide-angle lens can reinforce the expansive feel.
Layer the Scene: This is the most important step. Describe distinct elements for each layer. For example, , intricate sci-fi console in the foreground, with a sprawling futuristic city visible through the window in the background.
Add a Cinematic Style: Use tokens like shot by Roger Deakins, cinematic color grading, or epic environmental storytelling to set the mood and visual tone.
This approach is invaluable for creating establishing shots for a film, concept art for video games, or any image where the environment is just as important as the subject. It builds a world that feels real and lived-in, inviting the viewer to look closer and discover the story within the details.
8-Point Comparison of Midjourney Camera Prompts
| Technique | 🔄 Implementation Complexity | ⚡ Resource Requirements | 📊 Expected Outcomes | Ideal Use Cases | ⭐ Key Advantages / 💡 Tips |
|---|---|---|---|---|---|
| Wide-Angle Landscape Shot with Rule of Thirds | Low — straightforward framing and grid use | Wide-angle lens (14–35mm), tripod optional, low ISO | Balanced, expansive compositions with strong depth | Travel, landscape, architecture, environmental storytelling | ⭐ Predictable, versatile. 💡 Include "rule of thirds", specify foreground/midground/background. |
| Cinematic 35mm Prime Lens Close-Up Portrait | Medium — needs precise focus and lighting direction | 35mm prime (f/1.4–f/1.8), controlled lighting, moderate ISO | Magazine-quality portraits, creamy bokeh, flattering perspective | Editorial, social media, professional headshots, influencer content | ⭐ Flattering natural perspective and emotional impact. 💡 Ask for "creamy bokeh" and lighting mood. |
| Low-Angle Telephoto Compression Shot | Medium — requires angle control and composition planning | Telephoto 70–200mm, stable support, faster shutter | Dramatic, imposing subjects with compressed backgrounds | Product hero shots, sports, architectural drama, cinematic character shots | ⭐ High visual impact and authority. 💡 Specify "low angle" + focal length and "compressed background". |
| Overhead Flat-Lay Composition with Macro Lens | Low–Medium — styling is critical though technique is simple | Macro/close-focus lens (50–100mm), overhead rig, styled props, diffused light | Organized, detail-rich flat compositions emphasizing texture | Food, product styling, social media lifestyle, unboxing imagery | ⭐ Clear detail and strong social performance. 💡 Use "overhead/top-down" and describe arrangement & lighting. |
| Dutch Angle (Tilted Horizon) with Ultra-Wide Lens | Medium — must be narratively justified to avoid gimmick | Ultra-wide lens (10–24mm), dynamic scene elements, stabilization | Psychological tension and high-energy, disorienting visuals | Action, thriller, music videos, dynamic game cinematics | ⭐ Instantly attention-grabbing and distinctive. 💡 State tilt degree (e.g., "30° Dutch angle") and context. |
| Shallow DOF 50mm Standard Lens for Depth Layering | Medium — requires precise focus point specification | 50mm fast lens (f/1.2–f/1.8), controlled aperture, appropriate lighting | Layered depth with subject isolation while retaining context | Narrative scenes, fashion, interviews, lifestyle advertising | ⭐ Polished, natural perspective with layered depth. 💡 Specify what should be sharp vs. blurred and aperture. |
| Extreme Close-Up with Macro Extension and Focus Stacking | High — technically demanding and detail-oriented | Macro lens (100mm), extension tubes, focus-stacking workflow, specialized lighting | Extraordinary texture/detail revelation; scientific or luxury emphasis | Scientific visualization, luxury product detail, texture showcases | ⭐ Extraordinary detail and educational impact. 💡 Specify magnification (e.g., "1:1"), textures, and stacking. |
| Cinematic Wide Shot with Deep Focus (Panfocal Technique) | High — requires careful scene planning and aperture control | Wide/standard lens (24–50mm), small aperture (f/11–f/22), adequate lighting | Immersive, information-rich frames with everything in focus | Film establishing shots, world-building, environment design, documentaries | ⭐ Comprehensive narrative context and immersion. 💡 Use "deep focus" and "everything in focus from foreground to background." |
Key Takeaways: Building Your Own Cinematic Prompt Library
Throughout this guide, we've broken down eight distinct and powerful strategies for crafting superior Midjourney camera prompts. From the expansive sweep of a wide-angle landscape shot to the intimate detail of a macro extension tube, each example demonstrates a core principle: specificity is your greatest asset. You are no longer just a user hoping for a good image; you are a virtual director, making conscious choices about every element of your composition.
By moving beyond simple subject descriptions and incorporating the language of photography and cinematography, you gain an immense level of control. Thinking about the why behind a choice-like using a low angle to convey power or a shallow depth of field to isolate a subject-is what separates generic AI art from intentional, impactful visuals. These techniques are not isolated tricks; they are building blocks meant to be combined and reconfigured.
From Recipe Follower to Prompt Chef
The true goal is to evolve from following these prompt recipes to creating your own. The examples provided are your starting point, not your final destination. The most effective way to achieve this is through systematic experimentation and organization.
Here are the key strategic takeaways to guide your process:
Combine and Conquer: The real power emerges when you stack these techniques. A low-angle telephoto compression shot becomes even more dramatic when you add shallow depth of field to blur the background into an abstract pattern. An overhead flat-lay can be elevated by specifying soft, diffused morning light for a gentle, clean aesthetic.
The Lens is the Story: Your choice of lens is one of the most significant decisions you can make. An ultra-wide lens can create a sense of unease with a Dutch angle, while a 50mm standard lens provides a natural, human-eye perspective perfect for relatable portraits. Always ask yourself: what feeling does this lens choice evoke?
Actionable Specificity: Vague terms like "dramatic" or "beautiful" are subjective and produce inconsistent results. Instead, use concrete photographic terms. Instead of "blurry background," specify f/1.4 aperture or extreme bokeh. Instead of "zoomed in," define it as an extreme close-up shot with a 100mm macro lens. This technical language gives Midjourney precise instructions.
Strategic Insight: The most effective AI artists build a personal "shot list" of prompt components. They don't start from scratch every time. They have go-to combinations for portraits, landscapes, and action shots, which they then modify for the specific project.
Building Your Director's Toolkit
Mastery comes from practice, but practice without organization leads to wasted effort. As you create generations you love, don't just save the image; save and categorize the prompt that created it. This is how you build a reusable library of your own Midjourney camera prompts.
Consider creating a simple system to file your successful prompts. You could use a text document, a spreadsheet, or a dedicated prompt management tool. Group them into logical categories that make sense for your workflow:
Portrait Setups: (e.g., 35mm environmental, 85mm classic headshot)
Landscape & Scenery: (e.g., Ultra-wide deep focus, Telephoto mountain compression)
Product & Object Shots: (e.g., Macro flat-lay, 50mm product isolation)
Dynamic & Action Angles: (e.g., Low-angle tracking shot, Dutch angle chase)
This structured approach transforms your creative process. It saves immense amounts of time, allows you to consistently apply complex visual styles, and helps you refine your unique artistic voice. Start by taking the templates from this article, modify them, break them, and see what you discover. Your journey to becoming a skilled AI image director begins with building that first block of your personal prompt library.
Ready to stop scrolling through old Discord messages to find that one perfect prompt? Organize, refine, and reuse your best Midjourney camera prompts with Promptaa. It’s the professional way to build the cinematic library we've discussed, letting you focus on creating, not searching. Get started for free and build your director's toolkit at Promptaa.