How to Prompt AI to Create an Image: Expert Tips & Tricks
Author
Promptaa
Date Published
To get an AI to create the image you're picturing, you need to give it a clear text description. This isn't just about throwing words at the screen; it's about providing a recipe with four key ingredients: the main subject, the artistic style you're after, specific details like colors and setting, and any technical commands needed, like the image dimensions. The more precise you are, the better the final dish will be.
The Blueprint for a Perfect AI Image Prompt
Welcome to the wild world of AI art, where your words are the paintbrush. When you're just starting out with powerful image generators like Midjourney or DALL-E, it can feel like a total guessing game. But here's the secret: there's a reliable structure behind every jaw-dropping image. Instead of just hoping for the best with random phrases, think of your prompt as a blueprint that guides the AI.
This framework is what separates happy accidents from intentional creation. It gives you repeatable control over the process, letting you turn those abstract ideas floating around in your head into something real you can actually see.
The Four Core Components
The first step to really nailing AI image generation is understanding these core building blocks. Each one adds another layer of instruction, helping you dial in the final result with more and more precision. Before you even type a single word, try breaking down your idea into these four distinct parts.
Subject: This is the "what." What's the main focus of your image? Start simple and clear. Think "a majestic lion" or "a futuristic cityscape."
Style: This is the "how." Are you looking for a photograph, an oil painting, a 3D render, or maybe something really specific like in the style of Van Gogh? The style is what sets the entire mood and aesthetic.
Details: These are the little things that bring your image to life. Think about colors (vibrant neon colors), lighting (cinematic lighting), the environment (misty forest at dawn), or even the emotion you want to convey (serene expression).
Technical Commands: These are the nuts and bolts, often specific to the platform you're using. This is where you set the aspect ratio (--ar 16:9) or tell the AI what to leave out (--no text).
To make this even clearer, let's break it down into a simple table. Think of this as your cheat sheet for building prompts from the ground up.
The Four Pillars of an Effective AI Image Prompt
| Component | Purpose | Simple Example |
|---|---|---|
| Subject | Establishes the primary focus or "what" of the image. | a vintage race car |
| Style | Defines the artistic medium and overall aesthetic. | digital art |
| Details | Adds specifics like color, lighting, and environment. | on a rain-slicked street at night, neon lights reflecting |
| Technical | Controls technical aspects like size and what to exclude. | --ar 16:9 |
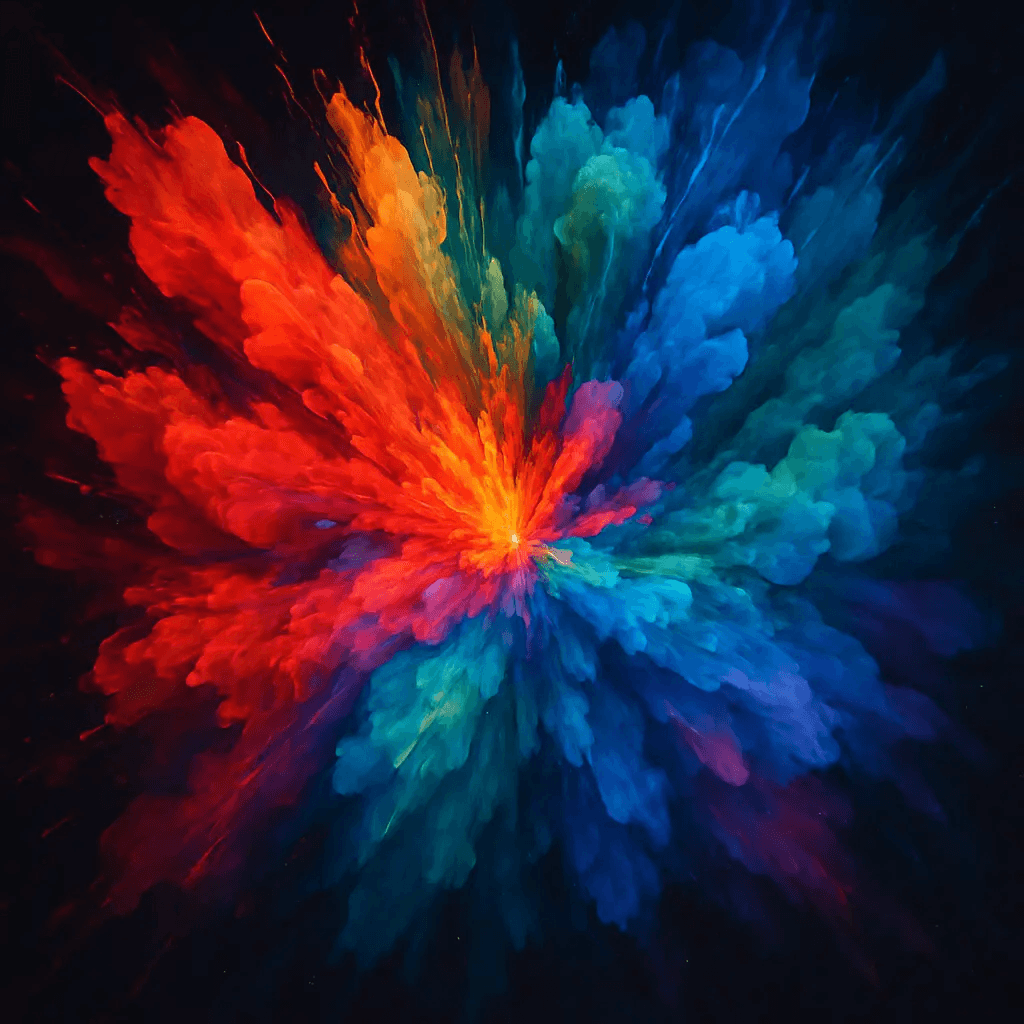
Once you start thinking in terms of these four pillars, your prompts will become infinitely more powerful. You're giving the AI a complete and logical set of instructions to follow.
This infographic helps visualize how these four pillars come together to form a strong prompt.
This structured approach is a lifesaver, especially on days when you're feeling a bit stuck. If you're looking for a creative spark, we've also put together a guide on the best tools and sites for art prompt inspiration.
Mastering this skill is more important than ever. The global AI market is on track to hit a staggering $391 billion by 2025. With 53% of users on platforms like Canva already using AI for image generation, knowing how to write a good prompt is quickly shifting from a niche hobby to an essential digital skill. You can read more about the explosive growth of AI on Exploding Topics.
Choosing the Right Words for Visual Impact
The gap between a bland, generic image and a true work of art often boils down to a few well-chosen words. When you’re learning how to prompt an AI image generator, you're not just typing commands; you're learning to speak a new visual language. Basic nouns and verbs will get you basic results. To create something stunning, you need evocative language.
Think of it like being a film director. You wouldn't just tell an actor to "walk." You'd give them direction: "a grizzled detective striding purposefully through rain-slicked city streets." Suddenly, you have a story. The adjectives (grizzled, rain-slicked) and the stronger verb (striding) do all the work, giving the AI the rich details it needs to build a scene with texture and mood.
Specify the Medium and Artistic Style
One of the most effective ways to steer your final image is by defining the medium or artistic style. This single instruction tells the AI which visual rulebook to follow, and it can completely transform the outcome.
Let's take a simple prompt: "a portrait of a queen." This could go in a hundred different directions. But add a specific medium, and you immediately take the wheel.
An oil painting of a queen will likely give you rich textures, visible brushstrokes, and a classical, painterly feel.
A 3D render of a queen completely shifts the vibe to something modern and digital, with smooth surfaces and complex lighting.
A vintage polaroid of a queen instantly adds a layer of nostalgia with faded colors, light leaks, and that perfectly imperfect analog quality.
You can get even more specific by referencing artistic movements or famous artists. Mentioning "in the style of Ansel Adams" clues the AI into creating a dramatic, high-contrast black-and-white landscape. Using a phrase like "art deco poster" will guide it toward bold geometric shapes and elegant, stylized figures.
Key Takeaway: Specifying a medium or artistic style is the fastest way to set the AI's creative direction. It's like handing a painter a specific canvas and a curated set of brushes before they even begin.
Different keywords, or modifiers, can drastically alter your image. I've found that keeping a mental toolbox of these modifiers is incredibly helpful for steering the AI toward the exact look I'm picturing.
Prompt Modifiers and Their Visual Impact
A comparative look at how different types of keywords—from artistic styles to camera settings—can transform a simple base prompt.
| Modifier Type | Example Keyword | Expected Visual Change |
|---|---|---|
| Artistic Style | Impressionism |
Soft focus, visible brushstrokes, emphasis on light and color. |
| Medium | Watercolor |
Translucent colors, soft edges, paper texture. |
| Artist | Van Gogh |
Bold, swirling brushstrokes, vibrant and emotional color palette. |
| Camera Lens | Macro lens |
Extreme close-up, shallow depth of field, intricate detail. |
| Lighting | Rim lighting |
A dramatic light source from behind, creating a glowing outline. |
| Film Type | Kodachrome |
Rich, saturated colors with a slightly warm, vintage tone. |
| Rendering Engine | Octane render |
Photorealistic lighting, glossy reflections, and cinematic quality. |
Think of these modifiers as your creative toolkit. A single word can be the difference between a flat image and a dynamic, emotionally resonant piece.
Before and After Prompt Transformation
Let's look at a real-world example of how a few smart additions can make all the difference.
Before: a car in a city
This prompt is far too vague. The AI has to guess everything: the type of car, the city's architecture, the time of day, the overall mood. The results are almost always uninspired.
After: A sleek, retro-futuristic sports car speeding through a neon-lit cyberpunk city at night, reflections on the wet asphalt, cinematic, hyperrealistic
Now we're talking. This revised prompt is packed with actionable details. We’ve defined the car's aesthetic (sleek, retro-futuristic), the city's vibe (neon-lit cyberpunk), the environment (wet asphalt), and the desired quality (cinematic, hyperrealistic). The difference between the two outputs will be night and day.
This process of layering descriptive words is where the magic happens. It’s how you go from just using an AI tool to actively creating with it. If you want to really get into the nitty-gritty, you can explore more of the prompt key words to make images less fake-looking in our dedicated guide on the topic.
Getting Serious: Advanced Techniques for Precise Control
Once you’ve got the basics down, it’s time to move beyond simple descriptions. This is where you really start to direct the AI instead of just tossing ideas at it. If you want to gain granular control over your images, fix those all-too-common AI mistakes, and get a truly polished look, there are a few powerful techniques you need to know.
One of the most essential tools in your kit is negative prompting. Think of it as telling the AI what you don't want to see. Is your character sprouting a sixth finger? Are weird, garbled text artifacts appearing out of nowhere? A negative prompt is your best friend. For example, adding --no extra limbs, deformed hands, text, watermark to your prompt tells the model in no uncertain terms to steer clear of those common glitches.
This is a ridiculously effective way to clean up an otherwise great image. It’s often much easier to explicitly forbid a concept than to try and describe its absence in your main prompt.
Putting Emphasis Where It Counts With Prompt Weighting
Another pro-level move is prompt weighting. Some platforms, like Midjourney, let you assign a level of importance to different parts of your prompt. This is how you tell the AI what’s non-negotiable and what’s just a supporting detail. You do this by adding a double colon and a number after a word or phrase, like red::2.
Let's say you're trying to create an image of a "futuristic city with a classic vintage car." Without any guidance, the AI might get confused and blend the styles, giving you some sort of weird futuristic car.
But by using weighting—futuristic city::1 classic vintage car::2—you're telling the AI that the car's vintage style is twice as important as the city's futuristic vibe. This forces the car to stay distinctly classic while letting the background be futuristic. Suddenly, you have precise control over the theme.
Directing the Scene Like a Photographer
To get that truly cinematic or professional look, you have to start thinking like a photographer. When you specify camera settings, lens types, and lighting conditions, you’re giving the AI concrete, technical instructions for how to compose the shot. This is the difference between making a simple picture and crafting a compelling scene.
Try incorporating terms like these into your prompts:
Camera Shots: low-angle shot, dutch angle, drone shot
Lenses: 85mm lens for portraits, wide-angle lens for landscapes
Lighting: dramatic cinematic lighting, golden hour, soft studio light
A prompt like "a close-up portrait, 85mm lens, f/1.8, dramatic cinematic lighting" will give you a completely different result than just "a portrait." It tells the AI to create a specific mood, complete with a shallow depth of field and professional-grade lighting.
This level of detail is quickly becoming standard practice. The sheer scale of AI image creation is staggering; an astonishing 34 million AI-generated images are created every single day. Since 2022, that adds up to over 15 billion AI images—a volume that completely dwarfs the nearly 150 years of traditional photography. As you can see from the growth of AI on Digital Silk, this explosive growth proves that prompt-based creation is a core skill for any modern creator.
While these techniques give you amazing control over the visuals, getting precise text to appear within an image is a whole other challenge. If you're struggling with that, check out our guide on how to prompt AI to have specific text in an image for some specialized tips.
How to Refine Your Prompts Like a Pro
https://www.youtube.com/embed/aipzVvX4Gr0
It’s the big secret of AI image generation: getting the perfect image on your first try is incredibly rare. And honestly? That's not the point. The real skill isn't writing one flawless prompt from memory. It's knowing how to tweak, adjust, and guide the AI until your vision comes to life.
This back-and-forth is where the magic really happens. You start with an idea, see what the AI spits out, figure out what went wrong (and right), and then make small, smart changes. This is how you build intuition and learn to steer the AI with real precision.
Analyze Your First Generation
Think of that first batch of images as raw data, not a final product. If they’re not what you wanted, don't get frustrated. Instead, get curious. Look closely at what you've got and ask yourself a few questions:
What did the AI actually nail? Maybe the color palette is perfect, or the mood is spot on, even if the main subject is a mess.
What's missing or just plain wrong? Did it completely misunderstand a key part of your idea? Is the composition a disaster? Are there weird, distorted artifacts?
Is the style right? You asked for "photorealistic," but does it look more like a digital painting? Be honest.
Breaking the output down like this helps you identify exactly what to target in your next attempt. You're not just guessing anymore; you're actively problem-solving.
Make Small, Surgical Adjustments
Once you know what needs fixing, your first instinct might be to scrap the whole prompt and start over. Don't. Huge changes can throw the AI into a totally new, unpredictable direction. The best results come from making small, deliberate tweaks.
Pro Tip: I've found that adding or changing just a single, powerful keyword often has a bigger impact than rewriting an entire sentence. The AI gives weight to every word, so a tiny adjustment can completely shift the final image.
It’s like tuning a guitar. You don’t loosen all the strings at once. You adjust one, listen to the result, and then move on to the next.
Let’s run through a quick example. Say you start with a really simple idea.
Initial Prompt: a robot in a forest
This is super vague, which means the AI has to fill in all the blanks itself. You’ll probably get something generic, maybe even a bit cartoony. Now, let’s refine it. We want a specific mood and a more professional style.
Refinement 1: Add Style and Detail
a rusty, art deco robot covered in moss, standing in a misty redwood forest at dawn
See the difference? We’ve given the AI so much more to work with. We added textures (rusty, moss-covered), a distinct style (art deco), and a clear setting (misty redwood forest at dawn). This prompt tells a story.
Refinement 2: Add Lighting and Technical Terms
a rusty, art deco robot covered in moss, standing in a misty redwood forest at dawn, cinematic lighting, photorealistic
By adding terms like cinematic lighting and photorealistic, we're giving the AI final instructions on how to render the scene. We've guided it from a loose concept to a specific, compelling image with a clear mood and professional look. This methodical process is how you truly get the hang of prompt engineering.
Common Prompting Mistakes to Avoid
Even after years of working with AI image generators, I still get some truly bizarre results. You think you've written the perfect prompt, a masterpiece of descriptive text, and what comes back is… well, let’s just say it's not what you had in mind. It's a universal experience, but figuring out the common pitfalls early on will save you a ton of frustration.
Most of the time, those weird, distorted images come from a handful of simple errors. One of the biggest is just throwing too much at the AI at once. It's easy to do. You want a detailed scene, so you list everything. But contradictory instructions or an overly complicated request will just confuse the model. It ends up mashing all your ideas together into a messy, nonsensical blob.
The key is to think of the AI less like a creative genius and more like an extremely literal-minded assistant. It will try to execute every single command, even if they completely contradict each other.
Being Vague or Overly Complex
The real art of prompting is striking a balance. You have to be specific, but not too specific.
A prompt like "a person standing" is a classic example of being too vague. It gives the AI almost nothing to work with, so you’ll get a generic, boring image that lacks any kind of spark.
But then there's the other extreme: "a 19th-century female scientist in a futuristic laboratory holding a glowing blue potion, with a robot assistant in the background and a window showing a view of Mars, impressionist style, photorealistic." This is just asking for trouble. You've got conflicting styles (impressionist and photorealistic) and a whole jumble of subjects crammed into one scene. The AI doesn’t know what to prioritize, so it will probably produce chaos.
My best advice: Start with one clear, focused idea. Get that right first. Then, you can start building on it, adding one or two compatible details at a time. It’s always better to start simple and refine than to try and create the perfect image with one monster prompt.
Ignoring Known AI Weaknesses
AI image generation has come a long way, but the models still have some well-known blind spots. If you don’t account for them, you’re just setting yourself up for disappointment.
Here are the big ones I still run into all the time:
Weird Anatomy: Hands are the classic problem—you’ll get six fingers, twisted wrists, you name it. Feet and teeth can also get pretty strange.
Garbled Text: Getting clear, correctly spelled words to appear in an image is still a massive hurdle for most models. It's getting better, but it's not reliable.
Flawed Logic: The AI might not grasp how things work in the real world, like how a reflection should look on a chrome bumper or how shadows fall.
The growth here is staggering; some experts predict that up to 10% of all data created worldwide will be AI-generated by 2025. And it’s not just a niche tool—73% of marketing departments are already using AI generators.
Even so, these fundamental weaknesses remain. Recent global AI art trends show that while photorealism has improved dramatically, things like anatomical correctness and text rendering are still a work in progress. Knowing this helps you work with the AI, not against it. For instance, if you don't absolutely need to show a character's hands, frame your shot to keep them out of view.
Common Questions About AI Image Prompting
Jumping into AI image generation feels a lot like learning a new skill, and it’s totally normal to have a ton of questions. As you start figuring out how to get an AI to create the image you're picturing, you'll run into different tools, techniques, and even a few ethical considerations.
Think of this section as your FAQ for the big picture. Getting a handle on these key areas will help you pick the right generator for what you want to accomplish and find fresh inspiration when you feel stuck.
Which AI Image Generator Is Best for Beginners?
If you're just starting out, you'll want a platform that doesn't feel overwhelming. Tools like Canva's Magic Media or Microsoft Designer are fantastic starting points. They build the AI image tools right into a design interface you might already know, which takes away a lot of the technical scariness.
Ready for a bit more power and a massive community to learn from? Midjourney is an amazing choice, but keep in mind it runs through the chat app Discord, so there’s a small learning curve there. DALL·E 3 is another great one, especially since it's built into ChatGPT Plus. Its ability to understand plain English is a huge help; you can give it a simple sentence, and it will often build out a much more detailed prompt for you.
How Do I Make My AI Images Look More Photorealistic?
The trick to getting photorealistic images is to make the AI think like a photographer, not an illustrator. I've found it comes down to being really specific about three things in your prompt:
Specify Camera Details: Think like you're holding a real camera. Try adding details like shot on a Sony A7R IV, 85mm f/1.4 lens.
Describe the Lighting: Light is everything in photography. Use descriptive phrases like soft natural window light, golden hour, or dramatic cinematic lighting.
Add Textural Adjectives: Give the AI clues about the surfaces. Words like hyper-detailed skin texture, intricate fabric patterns, and realistic reflections work wonders.
When you weave these elements together, you’re giving the AI the technical blueprint it needs to render something that looks like a high-quality photo instead of a piece of digital art.
A Quick Note on Commercial Use: Whether you can use AI-generated images for commercial projects depends entirely on the terms of service of the platform you used. Always, always read the fine print for the specific tool you're using.
Where Can I Find Inspiration for Good Prompts?
When you hit a creative wall, one of the best things you can do is see what other people are making. Many AI platforms have public galleries or community feeds where you can scroll through images and see the exact prompts that created them. It’s a great way to reverse-engineer cool effects.
There are also entire websites dedicated to this, like PromptHero and Lexica. They are basically massive libraries of AI art, complete with the prompts. Beyond that, don't forget the real world! Studying photography, film, and art history will give you a rich vocabulary of styles, compositions, and lighting setups to experiment with.
Ready to organize your best ideas and create even better images? Promptaa gives you the tools to build, save, and enhance your prompts, turning good ideas into great results. Start building your personal prompt library today at https://promptaa.com.